I’ve always loved jigsaw puzzles since I was a young kid. I first learned about Stave’s wooden jigsaw puzzles in 2004 by reading about Stave in a United’s Hemispheres magazine. Immediately the concept hooked me, when I landed, I checked the website and fell over looking at the price. I eventually got over the price thanks to a generous gift of my first Stave puzzle from my brother. That led me to realize just how fun a jigsaw puzzle targeted for adults could be. What with pieces that go together in all different ways… Some going in more than one place…
Fast forward to 2009 and Palace of Pranks became one of the first trick puzzles I would attempt. A trick puzzle is a puzzle where some pieces fit in multiple locations.
Let’s take a look at the catalog picture, you get a small sense of what it is in store:

Those “black” looking pieces are actually blue, see-through plastic that make a moat at the base of the castle. Because they are see-through, it is next to impossible to tell which side is up vs. down. Further you might notice that things like the worms are in the way of where the moat needs to be. Uh oh… That is a hint to the first trick.
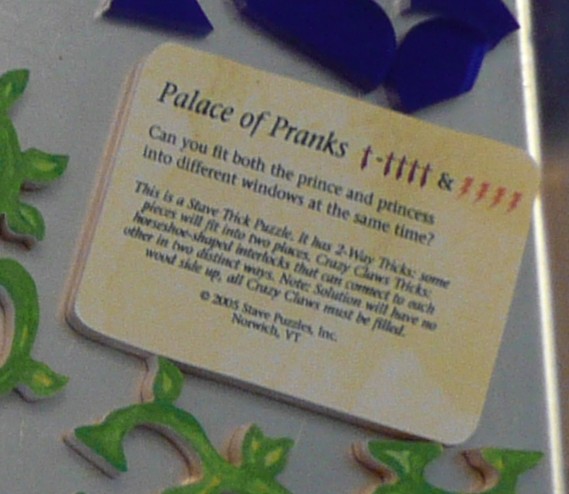
When you get a Stave trick puzzle they come with a “biscuit”, or tableau, that explains the objective:
Spoilers Ahead
Note beyond this point I have “spoilers” about how to solve the puzzle. If you are planning to buy the puzzle and want it to be a surprise, stop reading now.
Non-Castle Tricks
Before you can fix the castle, are several non-castle tricks in Palace of Pranks. Let’s take a look at them:
| Before | After |
|---|---|
 |
 |
Working from left to right in the image, we have:
- Headless horseman flips over (orange oval highlight; the head gets paired with the torso on top of the tombstone to make the prince)
- Mushrooms and worms swap to make way for the moat (pink rectangle highlighting; you will also need to move the skeleton upwards to make way for the mushrooms from below)
- Worm can face up or down, only one way will work to make the moat fit (yellow rectangles; other direction for-the-win)
Castle
Ok so now that you’ve got everything done but the prince and princess in the castle. At this point every piece except for the prince and princess should have a home. There should be no empty interlocks and the entire moat is complete.
Now you should suffer for a while. I know I did for quite a bit. Some help from friends is always useful too.
Before looking at the solution step-by-step, let’s talk about what’s going on conceptually. The windows are just a smidge too small. If you ram the pieces in you can almost get the princess in and if you make the prince headless you can similarly get the prince in. But that would be cheating.
Now if you are like me, the first thing you will hit upon is that the two pieces with the bat on them can swap with the pieces nearby (yellow highlighting in this picture):
But that swap does not do any good, why you ask? Because the bats are still in the way of the big window in the middle and you have not changed the shape of any of the windows.
I spent a lot of time questioning things deeply at this stage:
- What pieces really were the prince and princess?
- Do they perhaps stand up in the window 3D style?
- Could there be empty interlocks outside of the crazy claws?
Long story short–as is often the case with trick puzzles–you need to find more pieces that can swap with one another.
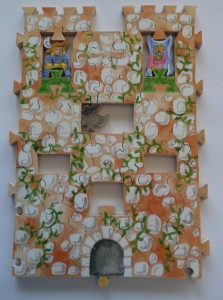
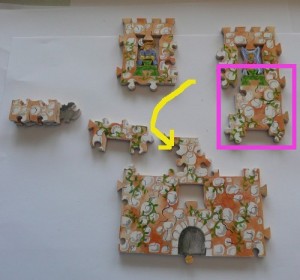
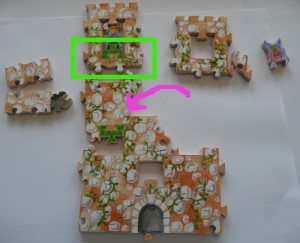
As you remove the crazy possibilities, you settle on making two windows larger. As you discover the other swaps in the puzzle you will see that there are way more swaps than the two pieces with the bat and that in fact with some serious swapping, you can get the tops of the two middle windows to become the bottoms of the top windows. Follow that? No, take a look at this side-by-side with some color highlights:
Got it? Good…
Step-by-Step
Let’s take a closer look, working backwards from the ending position to the starting position (cause I took the pictures that way and it still leaves some elements of surprise if you go forward):
And that’s all there is to it.
All Together
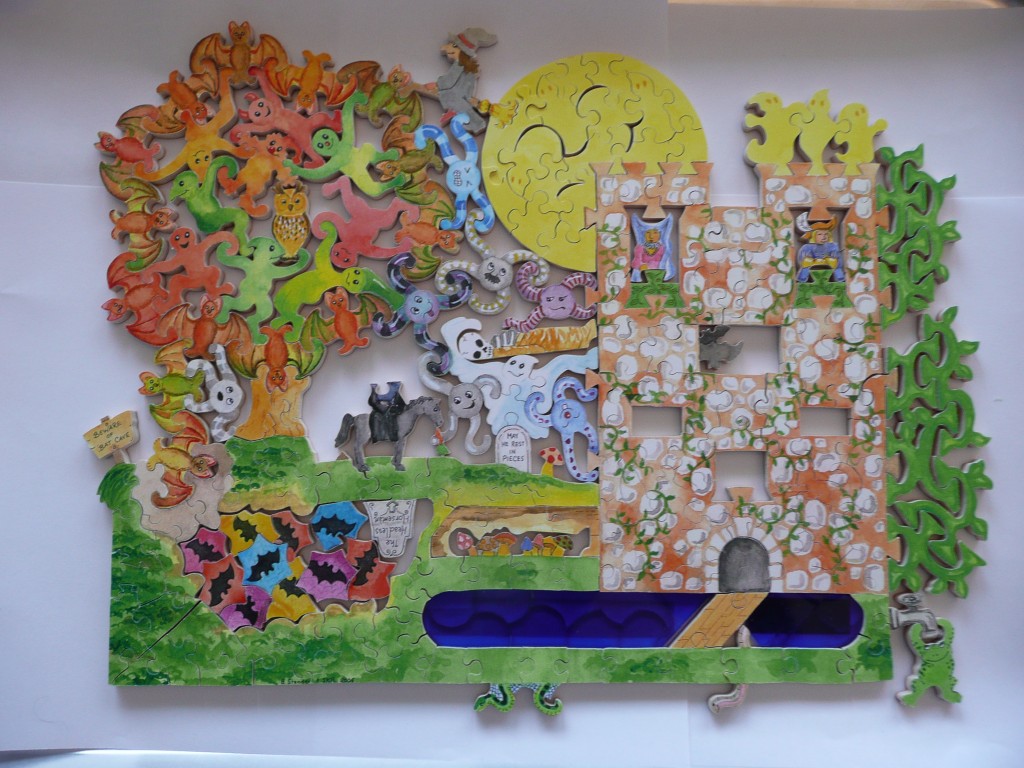
Here’s a picture of the puzzle put together.


